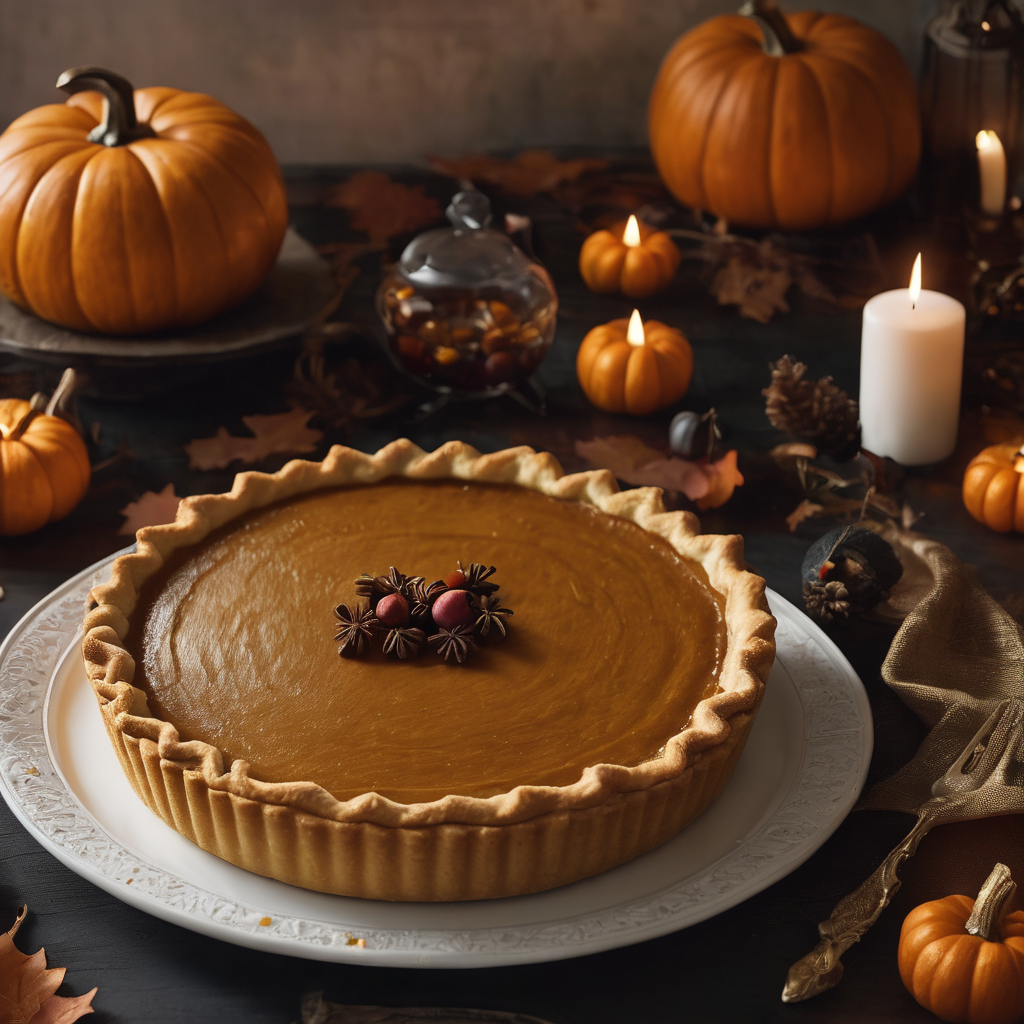
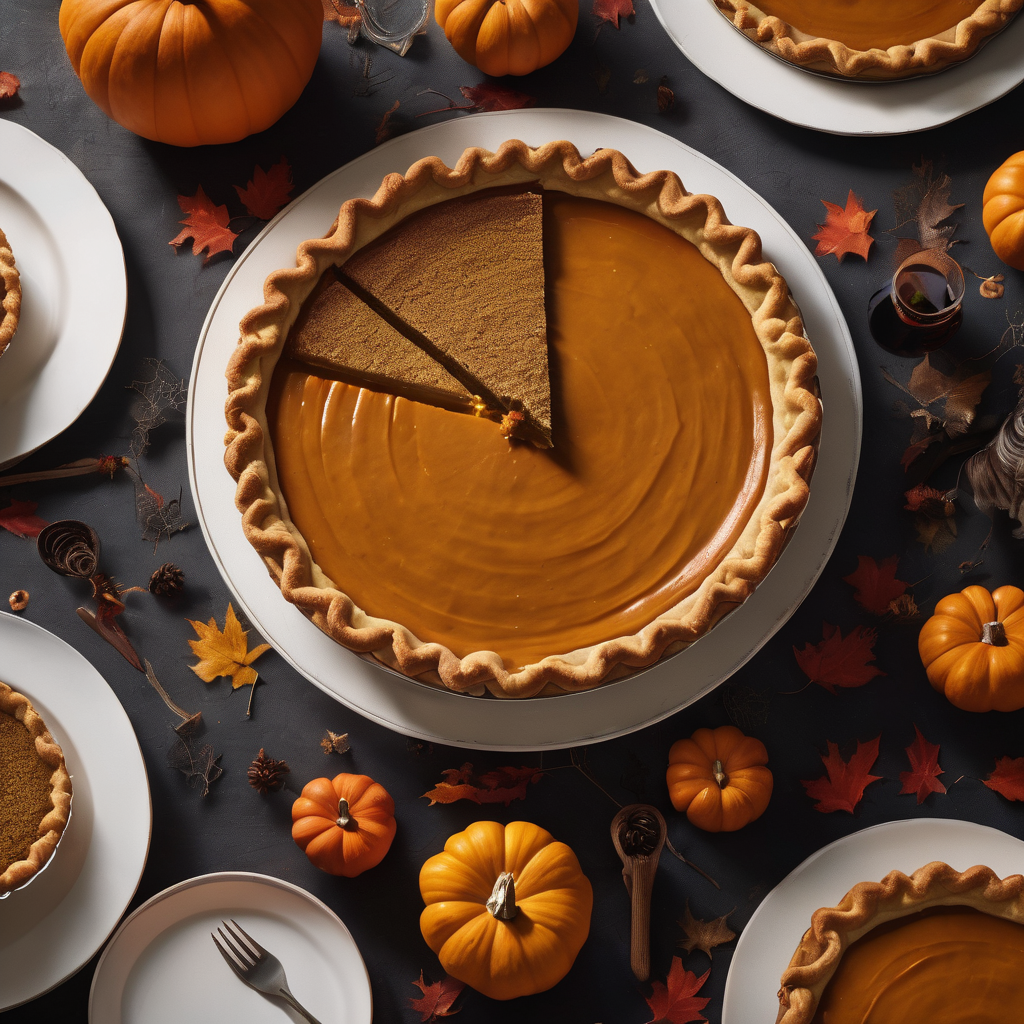
Savor the flavors of classic pumpkin pie, a quintessential fall dessert. Learn how to make the perfect pumpkin pie from scratch.

The Perfect Pumpkin Pie: A Fall Favorite
Description
Pumpkin pie, a quintessential American dessert, embodies the very essence of autumn. Its rich, spiced filling and buttery, flaky crust have become an iconic symbol of fall celebrations, particularly during Thanksgiving. The history of this beloved dessert traces back to early American settlers who learned from Native Americans how to incorporate pumpkin into their culinary traditions. Over the centuries, pumpkin pie evolved, and its delectable taste and warm, comforting aroma have made it an integral part of our cultural heritage.
Today, the making and savoring of pumpkin pie is a cherished tradition, not just for its irresistible taste but also for the sense of nostalgia it invokes. Families gather around the table to enjoy a slice of this classic dessert, often served with a dollop of whipped cream or a scoop of vanilla ice cream. It's a symbol of gratitude and unity, reminding us of the bountiful harvest and the warmth of loved ones. Pumpkin pie's enduring popularity stands as a testament to the power of cherished traditions and the simple pleasures of good food shared with family and friends.
Every bite of this dessert tells a story of generations past and the legacy of homey comfort it carries. Whether served at a festive holiday feast or simply enjoyed on a crisp, autumn afternoon, pumpkin pie remains an unmistakable symbol of the fall season and the cherished moments it brings to our lives.
Ingredients
Making the Pie!
Equipment
-
9-inch pie dish
-
Mixing bowls
-
Whisk
-
Measuring cups and spoons
-
- Pie weights or dried beans (for blind baking, optional)
-
- Foil (for crust protection, optional)
Instructions
-
Step 1: Preheat the Oven
- Preheat your oven to 425°F (220°C).
-
Step 2: Prepare the Pie Crust
- Place the unbaked pie crust in a 9-inch pie dish. Crimp or flute the edges as desired.
- If you'd like to prevent the crust from puffing up during baking, line it with parchment paper and fill it with pie weights or dried beans. Bake for 10 minutes. Remove the weights and parchment paper.
-
Step 3: Mix Pumpkin Filling
- In a mixing bowl, combine the pumpkin puree, granulated sugar, ground cinnamon, ground ginger, ground cloves, and salt.
- In another bowl, beat the eggs and then stir in the evaporated milk.
-
Step 4: Combine Ingredients
- Gradually add the egg and milk mixture to the pumpkin mixture, stirring until well combined.
-
Step 5: Fill the Pie Crust
- Pour the pumpkin filling into the pre-baked pie crust.
-
Step 6: Bake the Pie
- Place the pie in the preheated oven. Bake at 425°F (220°C) for 15 minutes.
- Reduce the oven temperature to 350°F (175°C) and continue baking for an additional 30-35 minutes or until a knife inserted into the center comes out clean.
- If the pie crust edges start to brown too quickly, you can protect them with foil or a pie shield.
-
Step 7: Cool and Serve
- Allow the pumpkin pie to cool on a wire rack for at least 2 hours before serving.
- Optionally, top with whipped cream just before serving.
-
Enjoy!
- Slice and enjoy your classic homemade pumpkin pie, perfect for any fall occasion!
This recipe guides you through creating a delicious and quintessential pumpkin pie, a delightful addition to your Thanksgiving or fall dessert table.


