Best Homemade Apple Cider : Easy & Flavorful!

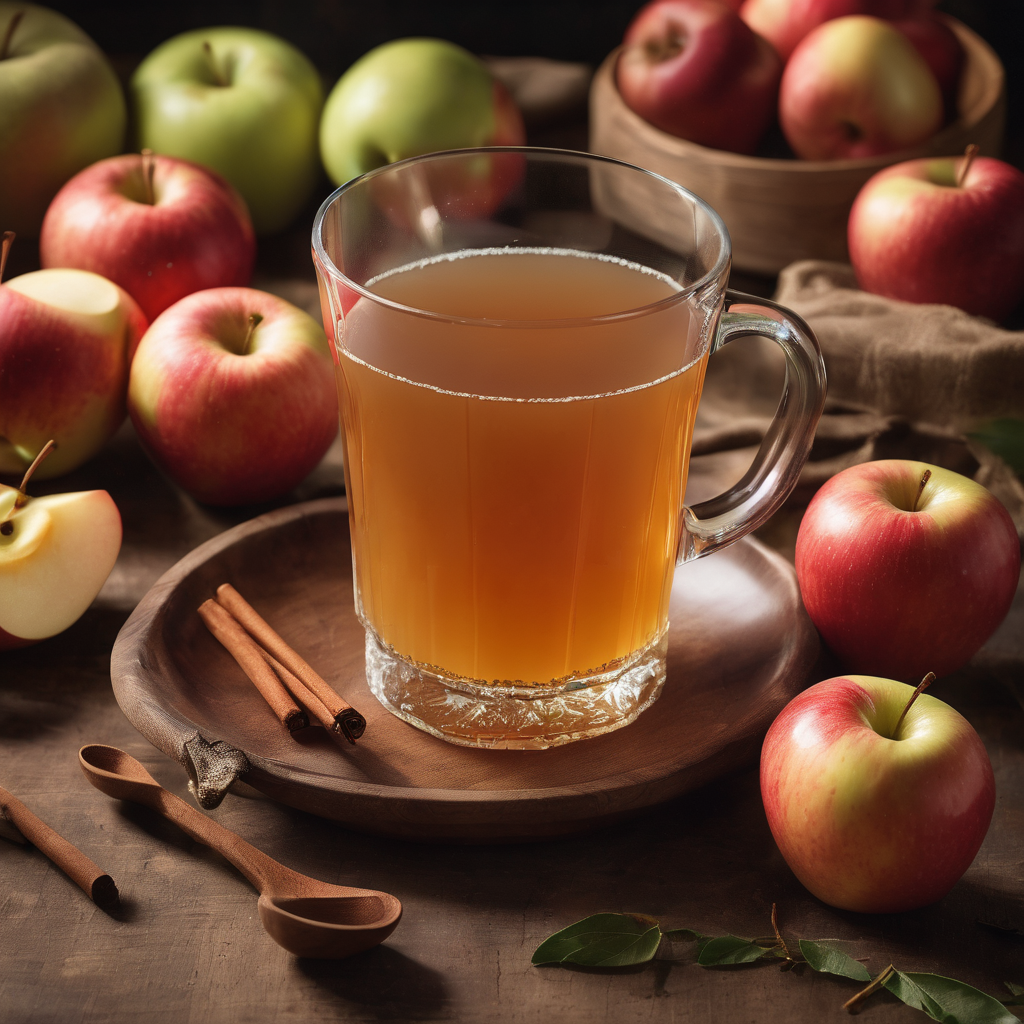
Savor the essence of fall with our Homemade Apple Cider recipe – a symphony of spices and apples, simmered to perfection!
Homemade apple cider, a quintessential fall treat, holds a special place in the hearts of many. Its iconic status transcends generations, evoking memories of crisp autumn days, cozy gatherings, and the comforting aroma of simmering apples and spices. This cherished beverage has deep historical roots, dating back to early American settlers who pressed apples to create this refreshing elixir. Today, it remains a symbol of the changing seasons, offering a taste of tradition with every sip.
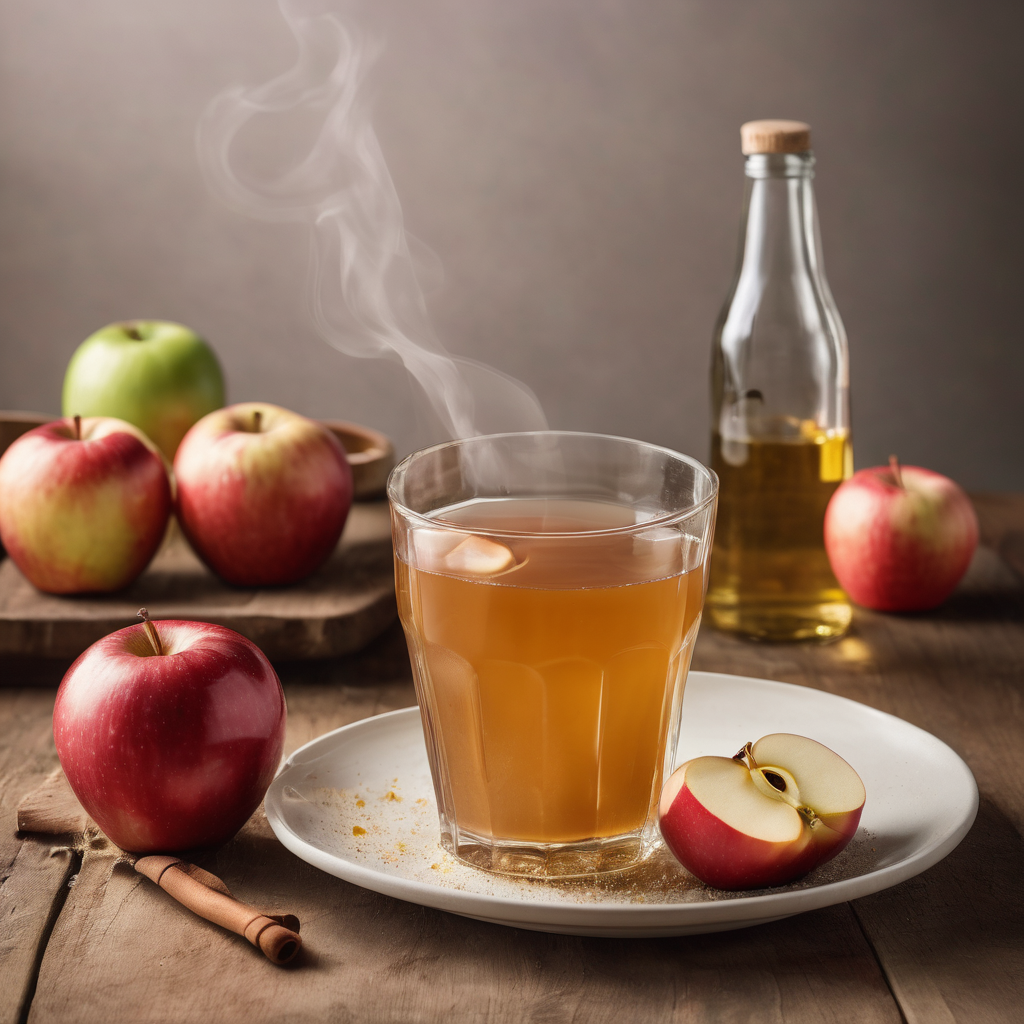
As the leaves turn golden and temperatures drop, the allure of homemade apple cider becomes irresistible. The process of making it may have evolved, but the essence remains the same: the pure, natural sweetness of apples infused with warming spices like cinnamon and cloves. Whether enjoyed hot or cold, spiked with a dash of cinnamon schnapps or kept simple, apple cider is a versatile drink that brings warmth and comfort to your gatherings. So, embrace the spirit of fall with a glass of this liquid gold and create your own lasting memories with this beloved autumn classic.
- 15 apples (a mix of sweet and tart varieties)
- 1 orange (sliced)
- 2 cinnamon sticks
- 7 cloves
- 1/2 cup brown sugar (adjust to taste)
- 8 cup water
- 1
- 2
Potato masher or wooden spoon
- 3
Cheesecloth or fine-mesh strainer
- 4
Instructions- 5
Step 1: Prepare the Apples- Wash and roughly chop the apples, including the cores and peels. No need to be too precise; just make sure they're clean and fresh.
- 6
Step 2: Combine Ingredients- In a large stockpot, add the chopped apples, orange slices, cinnamon sticks, cloves, and brown sugar.
- 7
Step 3: Add Water- Pour 8 cups of water over the apple mixture, ensuring it's all submerged.
- 8
Step 4: Simmer- Place the pot on the stove over medium-high heat. Bring the mixture to a boil, then reduce the heat to low, cover, and let it simmer for 1-2 hours. Stir occasionally.
- 9
Step 5: Mash the Apples- Use a potato masher or a wooden spoon to mash the softened apples periodically during the simmering process. This helps release more flavor and juice.
- 10
Step 6: Strain the Cider- Once the apples have turned mushy, turn off the heat and allow the mixture to cool slightly.
- Line a fine-mesh strainer or cheesecloth over a clean pitcher or jars.
- Carefully pour the apple mixture through the strainer, allowing the liquid to separate from the solids. Use the back of a spoon to press down on the solids to extract as much juice as possible.
- 11
Step 7: Serve or Store- You can enjoy your homemade apple cider warm or cold. If serving immediately, you might want to add a cinnamon stick or orange slice for garnish.
- For storage, seal the containers and refrigerate. Homemade apple cider can be kept for up to a week in the fridge.
- 12
Step 8: Enjoy
- Sip and savor the delightful taste of your very own homemade apple cider. It's perfect for chilly autumn days, family gatherings, or any time you crave a comforting, seasonal beverage.
Autumn, fall, apple cider, warm - 2
